


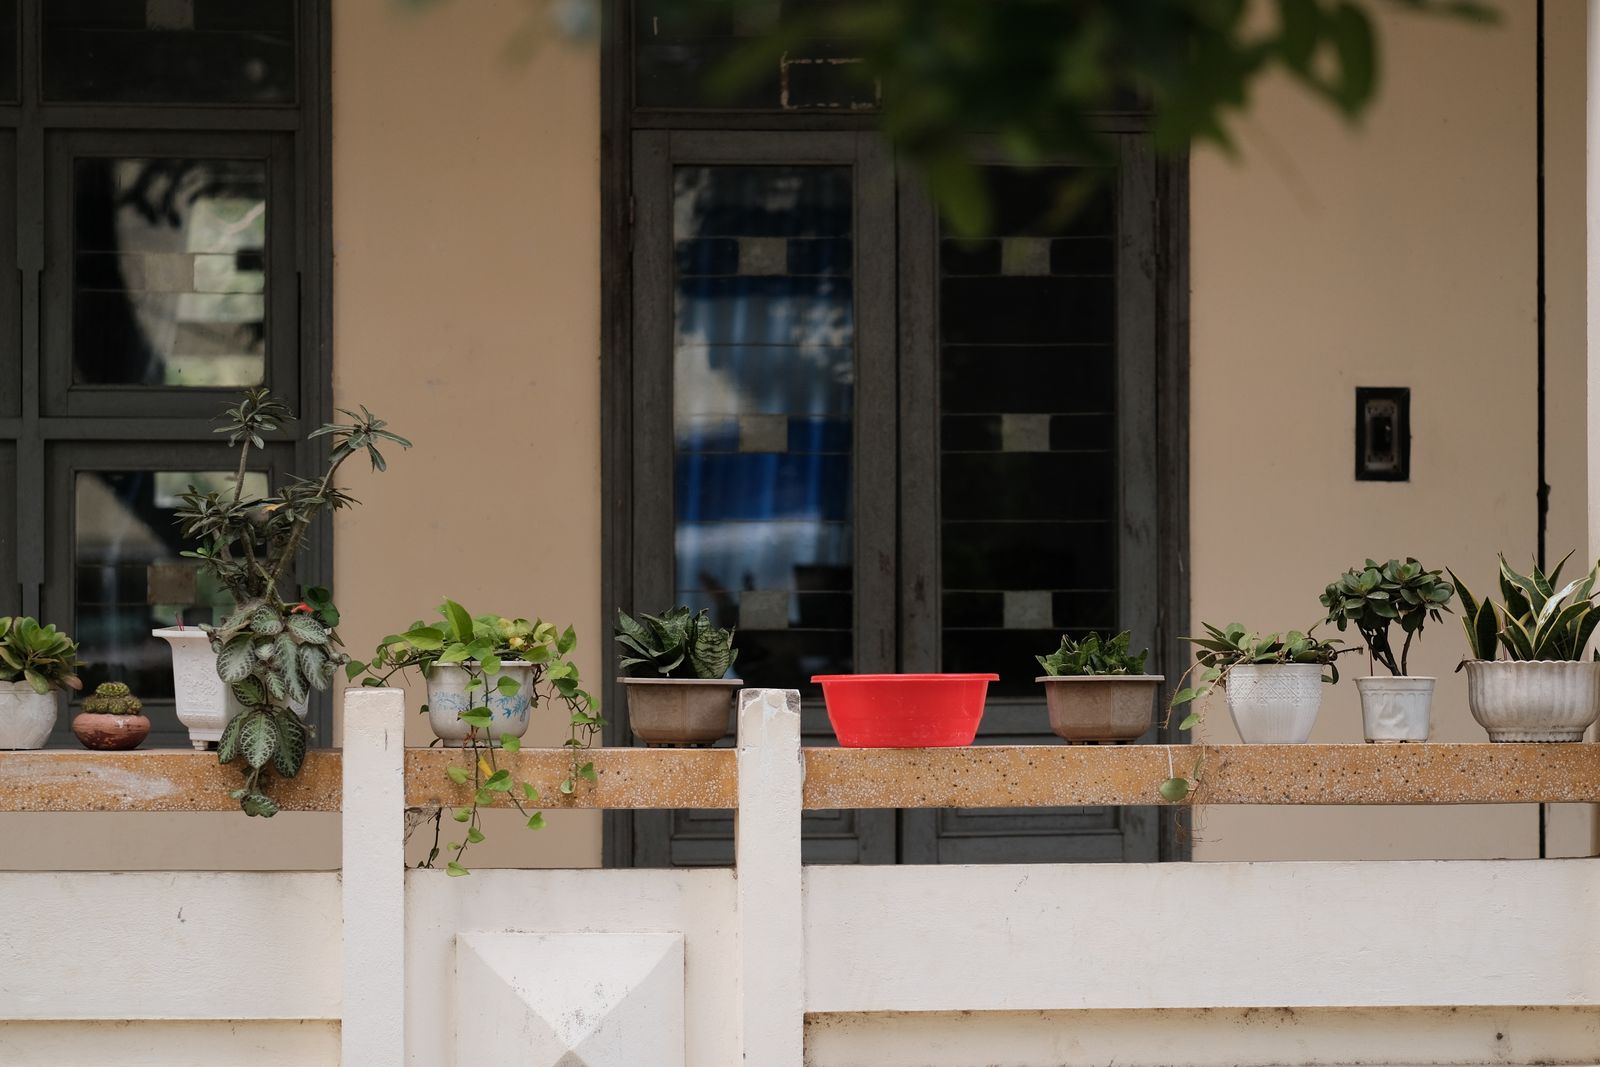
Photo: Pew Nguyen / Pexels, free to use.
Quick answer
Empty the plastic pot, turn it upside down on a flat scrap-wood block, mark several useful low points, and press a sharp tapered awl or sturdy nail straight through the supported base. Keep both hands outside the puncture path, enlarge each opening gradually, remove only loose burrs, and test the pot with water on its actual saucer. Stop if stress whitening or a crack keeps spreading.
Best starting tool
Tapered awl
Good control on flexible plastic.
Essential support
Scrap wood
Back the plastic close to the hole.
Preferred shape
Round holes
Avoid sharp corners that start tears.
Safer fallback
Double pot
For brittle or decorative outer pots.
This method works best on an empty nursery pot, thin polypropylene planter, flexible bucket, or similar ductile plastic. It is not suitable for every container. If the plastic is brittle, sun-aged, unusually thick, reinforced, coated, valuable, already planted, or part of a self-watering reservoir, do not force a hole. Put a smaller draining nursery pot inside the decorative container instead.

Choose a hand tool that can make a controlled round opening. Tool availability alone does not make a knife or heated object the safer choice.
How to make drainage holes with an awl or nail
The key is close support. An unsupported base bends like a membrane, stores energy, and then lets the tool jump through. A wood backer reduces that movement and gives the tool a safe surface to enter after breakthrough.
Step 1
Empty and clean the pot. Remove the plant, growing medium, liner, and standing water. Dry the base so neither the pot nor the tool slips.
Step 2
Inspect the bottom. Look for molded knockouts, thin webs, ribs, feet, low pockets, cracks, and any self-watering reservoir or overflow.
Step 3
Mark useful low points. Distribute the marks so water can escape if the pot tilts slightly. Avoid narrow ribs, damaged edges, seams, and feet.
Step 4
Back the exact area. Turn the pot upside down on a stable wood block. Keep your palm, lap, and helper’s hands away from the target.
Step 5
Puncture under control. Press the awl straight down. With a nail, use light taps from a small hammer instead of one large impact.
Step 6
Enlarge gradually. Rotate a tapered awl or step up to a slightly wider smooth tool. Do not force an oversized blunt object through the first hole.
Step 7
Remove loose burrs. Keep the base supported and use a suitable deburring tool or controlled trimming motion. Do not carve a wide notch.
Step 8
Test the finished system. Add water and confirm every opening flows when the pot sits on its final saucer, shelf, deck, or ground surface.

Test one opening before committing to the full layout. Stop if the material shows a running split or spreading stress marks.
Stop instead of “fixing” a growing crack
If white stress lines keep extending, the plastic snaps sharply, a split runs away from the hole, or the base dishes violently, stop. Do not make a larger hole next to the damaged area. Switch to a draining inner pot or replace the container if the wet load could make the base fail.
Which no-drill method fits your plastic pot?
A flexible six-inch nursery pot and a thick stone-look planter may both be called “plastic,” but they do not tolerate the same process. Start with the least hazardous method that fits the material and geometry.
The comparison is a selection aid, not manufacturer approval for a particular plastic formulation or tool.
Why an awl is usually the best first choice
A tapered awl displaces plastic gradually, so you control how far the opening grows. It requires no heat, no electricity, and no large cutting stroke. Use a short, manageable point rather than a long ice pick. If the base is curved, shape or position the wood support so it contacts the area instead of leaving it suspended.
When a hand punch can make a cleaner opening
A hollow or rotary punch removes a small disk instead of stretching the plastic. It can work well on a thin sidewall, liner, grow bag, or flat area that fits inside the jaws. Do not extend the handles with improvised pipes. If the punch crushes or folds the plastic instead of shearing it, the wall is too thick or the tool geometry is wrong.
Why a knife or scissors should not make the first hole
A curved pot is hard to stabilize. A pointed blade can skid and then enter suddenly when the plastic yields, while a triangular cut leaves sharp corners that concentrate stress and continue tearing under wet soil. Reserve an appropriate blade for controlled trimming after a round opening exists or for a thin manufacturer-designed knockout. Keep the work on a bench, cut away from the body, and keep the other hand outside the cutting line.
Why a hot nail is a higher-risk last resort
Melting can reduce mechanical stress, but it introduces different hazards. The UK Health and Safety Executive explains that plastic formulations include different pigments, fillers, stabilizers, and other additives, so the exact fume changes with the material and temperature. Plastic fumes can severely irritate the eyes, nose, and lungs. A neat-looking hole is not evidence that the fumes were harmless.
The lower-risk household choice is a supported mechanical puncture or a draining inner pot. Do not heat unknown plastic, PVC or vinyl, foamed plastic, painted or coated containers, chemical-service containers, electrical housings, or fiber-reinforced parts. Do not heat a kitchen knife, fork, or nail on a stove or candle, and do not work on a food-preparation surface. An open window or a fan that blows fumes across your face is not the same as capture at the source.
Simple decision rule
Flexible and empty: try a supported awl. Thin and accessible: consider a proper hand punch. Brittle, valuable, planted, or self-watering: do not puncture—use an inner pot or follow the product design.
How many holes should a plastic pot have?
There is no universal household number or diameter. Drainage depends on total open area, pot footprint, base shape, potting-mix texture, watering or rainfall rate, plant needs, root growth, and whether a saucer, liner, shelf, or ground surface blocks the openings. University extension guidance supports at least one effective outlet for an ordinary non-reservoir pot and generally more capacity as containers get larger, but that is a direction—not a complete design formula.
Start distributed
Several small openings at real low points are more reliable than one uncontrolled central cut.
Protect structure
Leave sound plastic between holes and avoid feet, narrow ribs, seams, and damaged areas.
Test real flow
Water at a realistic rate. Enlarge or add holes only if sound openings remain too restricted.
Check final placement
A perfect hole is useless when a flat saucer, shelf, liner, or cachepot seals it.
The existing Honokage article cited a professional nursery recommendation that drainage openings can total 20% of the base. That figure comes from a specific commercial nursery context and should not be presented as a universal DIY rule. For a household pot, start conservatively, keep the base strong, and verify performance. A coarse mix may drain through modest openings, while fine particles or roots can bridge small holes.

Molded drainage can place openings, feet, channels, and ribs as one coordinated base design.
Where should the holes go?
Use actual low points. A center opening can work on a flat or slightly convex base, but it may miss several low pockets around an inward dome. Openings near the bottom-wall corner can keep draining when the center is raised, which is why some commercial nursery pots use that geometry. Do not copy the position blindly: stay away from structural feet, handle anchors, welded seams, narrow ribs, cracks, and reservoir chambers unless the product identifies a knockout or overflow there.
Should you cover the holes?
If a large opening loses potting mix, place a small piece of durable mesh over it without sealing the water path. The mix often settles after initial watering. Do not tightly pack stones into the outlet. Also avoid broad fabric layers that clog or hold water unless they are part of a tested system.
Does gravel replace a drainage hole?
No. Gravel does not create an exit from a closed pot. Water tends to remain in the fine potting mix above a coarse layer until the fine layer becomes more saturated, so stones can move the wet zone upward and reduce useful root space. University of Maryland, Illinois, Iowa State, and Virginia Tech extension guidance all advise using an open drainage path rather than relying on a gravel layer.
Final drainage check
Test with the pot upright, filled only after the empty-pot water check passes, and placed exactly where it will be used. Watch whether water exits every low pocket and whether the saucer begins to cover the holes. Raise the base on stable feet when needed, then empty indoor saucers after watering. Drainage openings, potting mix, watering habits, and placement must work as one system.
What if you cannot or should not alter the pot?
Use the decorative container as a cachepot, or outer sleeve. Keep the plant in a slightly smaller nursery pot with open drainage. Remove the inner pot for watering, let it drain fully, empty the outer container, and return the plant. Use a stable spacer so the inner pot’s holes sit above any collected water.
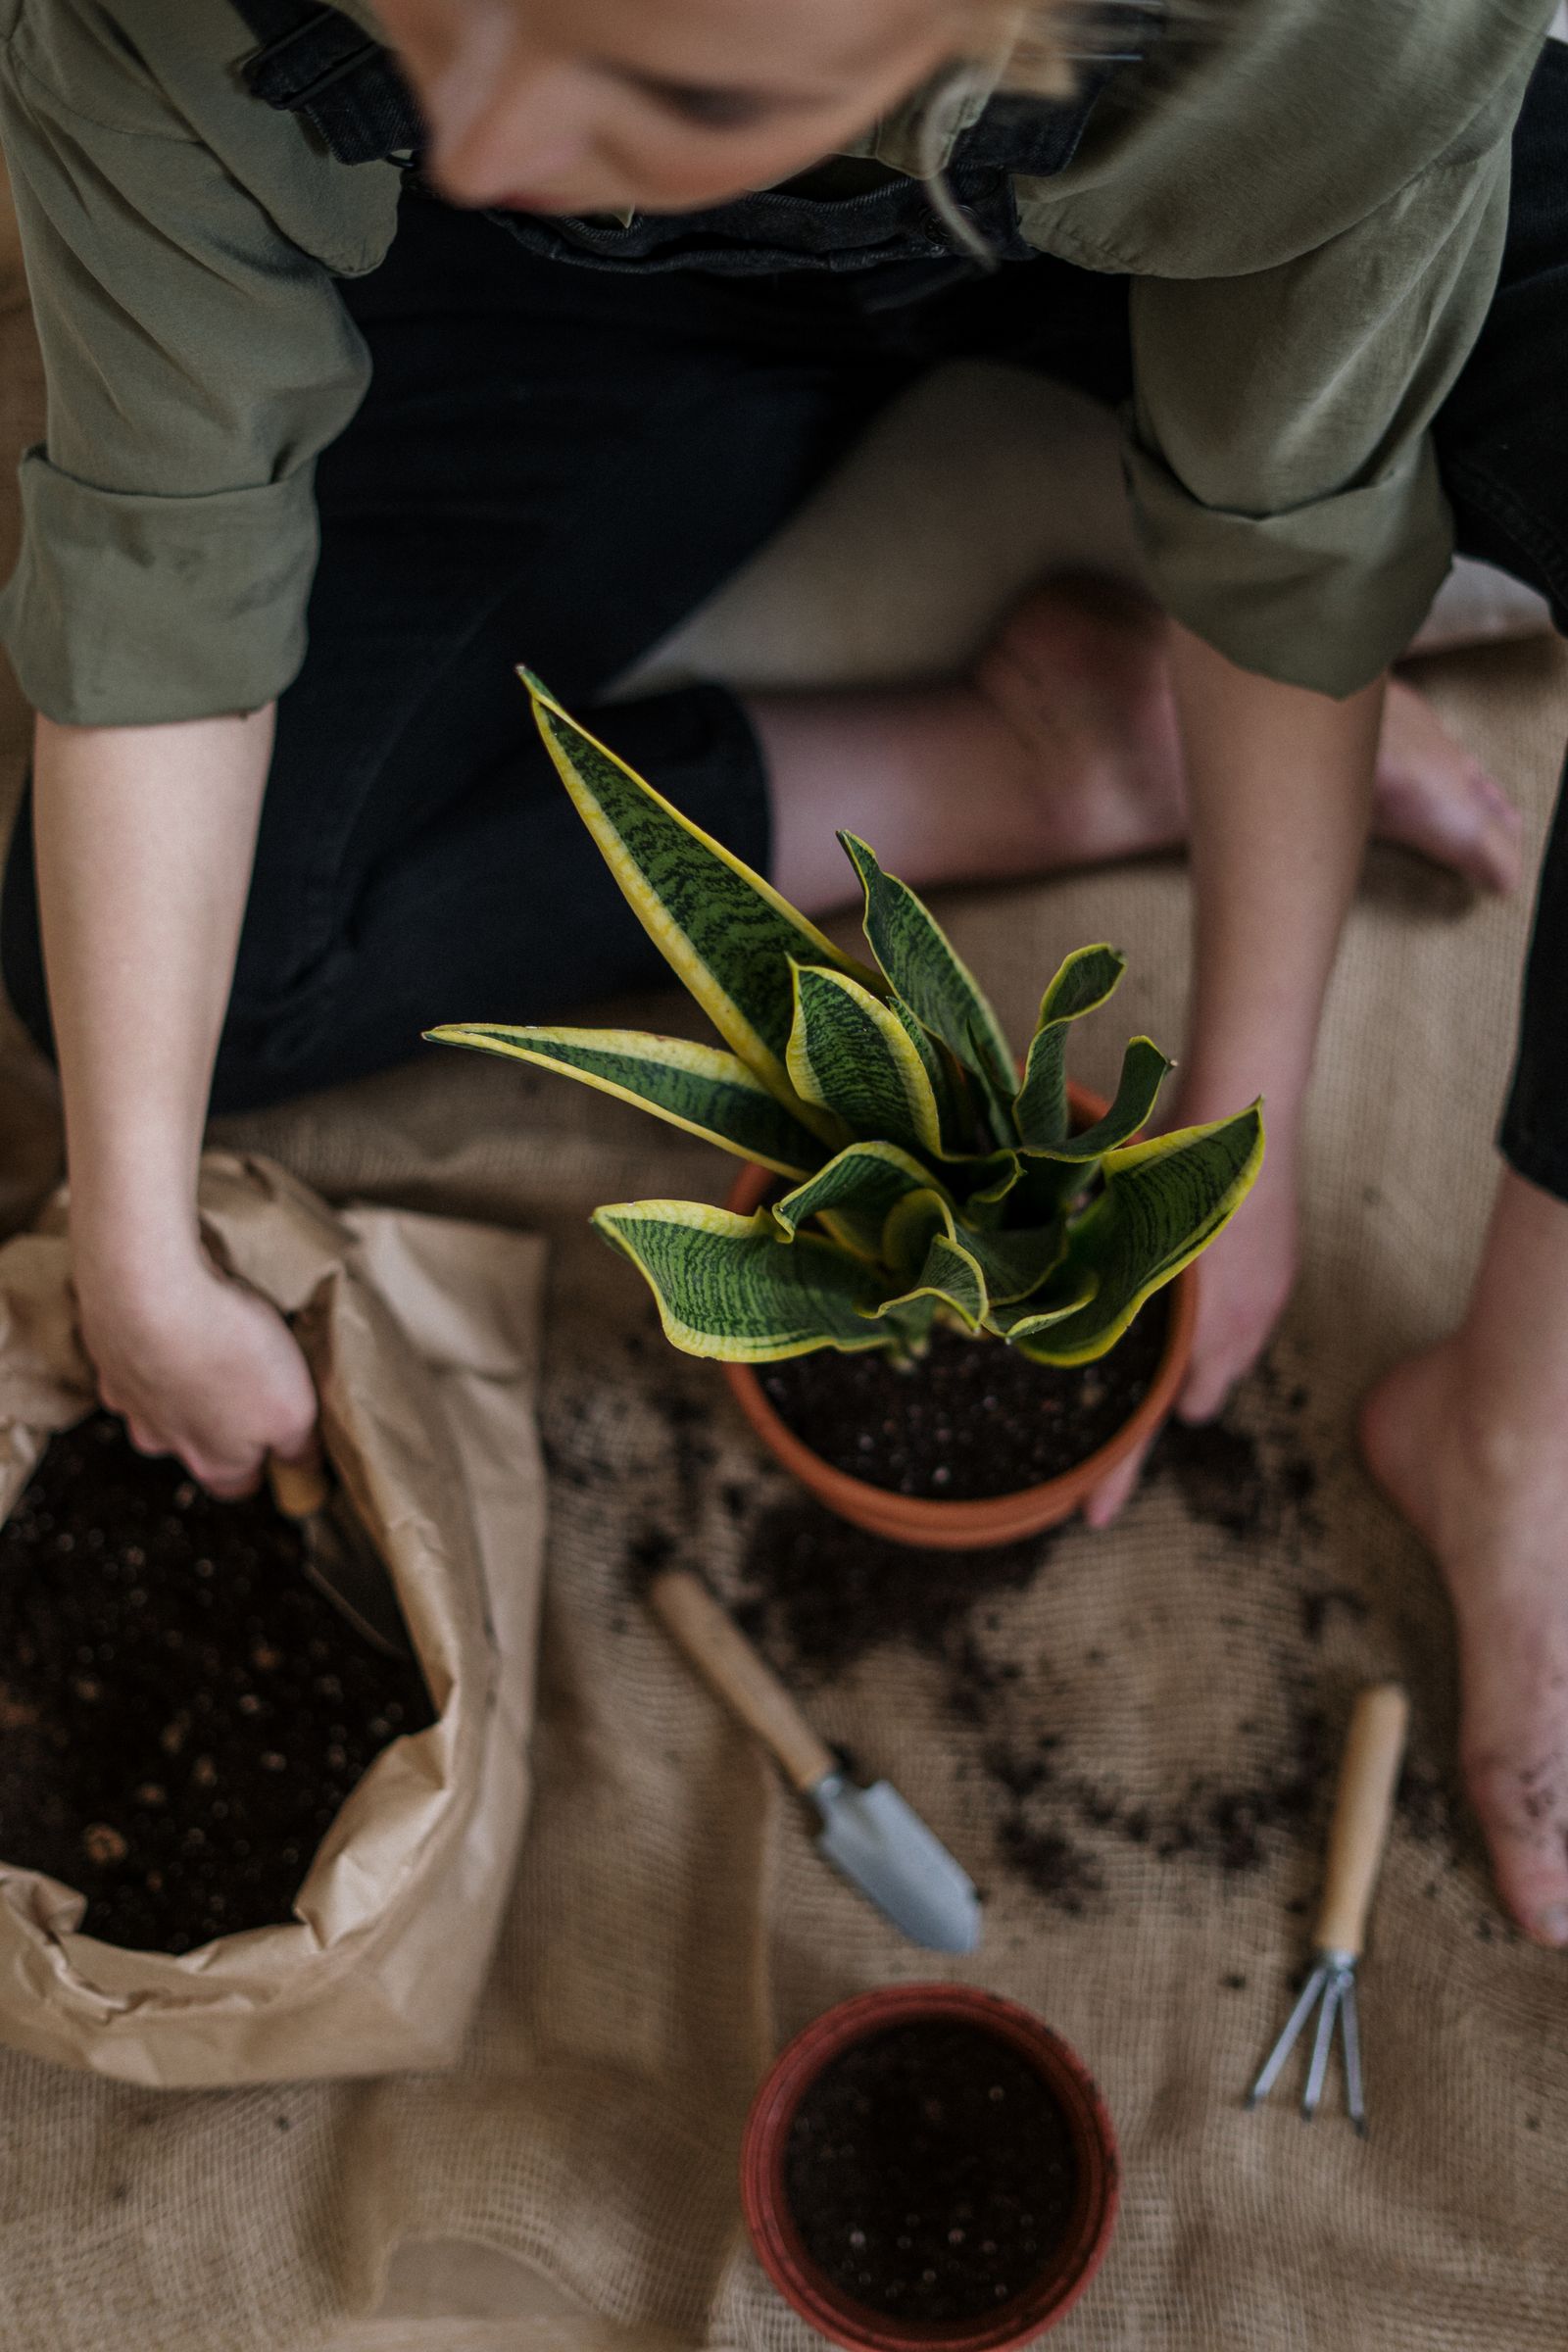
Repotting into a draining inner container is safer than puncturing a pot around a plant. Photo: cottonbro studio / Pexels, free to use.
Do not puncture a pot while the plant and wet mix are still inside. Roots, liners, reservoir parts, and your supporting hand can be in the tool path, while the filled pot cannot lie flat on the backer. If a planted pot has poor drainage, repotting also gives you a chance to inspect roots, replace compacted mix, and confirm that the new outlet remains clear.
Troubleshoot the result before planting
Plastic turns white
Stress is concentrating. Improve the backing, start smaller, work at room temperature, or stop if whitening spreads.
A star crack appears
The point may be blunt, the impact too large, or the base unsupported. Do not enlarge the damaged area.
Water still pools
Lift the pot and test each hole. The outlet may be too high, too small, clogged, or sealed by the saucer.
Mix washes out
Use a small porous mesh over a large opening. Keep the screen loose enough that water still escapes freely.
The edge is sharp
Support the pot and remove only the loose burr. Aggressive carving makes a notch and thins the base.
Drainage works only when lifted
The placement surface is blocking the outlets. Use stable feet or spacers rather than adding more blocked holes.
For manufacturers and garden-product buyers
A repeatable molded opening or controlled knockout is better than asking customers, retail staff, or nursery workers to improvise. Drainage should be designed with the potting medium, irrigation, plant, base shape, resin, wall thickness, decoration, stacking, and expected wet load—not added as an isolated circle on a drawing.

Base structure, drainage, stacking, and transport features should be reviewed together for a commercial planter.
Include these points in an RFQ or drawing review
- Plant type, growing duration, indoor or outdoor use, potting medium, irrigation, saucer or cachepot, and expected wet load.
- Polymer grade, recycled content, color, UV stabilization, wall thickness, service temperature, and impact expectations.
- Hole or slot dimensions, total open area, low-point placement, feet, channels, ribs, clearances, and overflow level where relevant.
- For knockouts: web thickness, intended hand tool, required push force, edge quality, plug removal, and user instructions.
- Wet-load base deflection, handling, drop, stacking, crack growth, outdoor aging, and blockage checks.
- Flash limits, covered-hole inspection, warpage, cavity traceability, sample plan, and change-control requirements.
Honokage presents customizable macetas de plástico and an IML plastic flower pot with bottom drainage. Those pages show product directions, not universal performance approval. Commercial buyers should confirm the exact pot, resin, drainage geometry, plant system, market, testing, and order requirements.

A decorative planter can integrate drainage during molding rather than leaving the end user to cut the finished product.
Frequently asked questions
What is the easiest way to put holes in a plastic pot without a drill?
For a thin, flexible, empty pot, place the base on scrap wood and use a sharp tapered awl. Press straight down, keep hands outside the puncture path, and twist gradually to enlarge the opening. Make several distributed holes and test them with water.
Can I use a hot nail to make drainage holes?
A hot nail can melt some thermoplastics, but it adds fume, burn, and fire risks. Prefer a supported mechanical puncture. Never heat unknown, PVC, foamed, coated, contaminated, or reinforced plastic, and never heat the tool with an open flame or on a cooking surface.
Can I use a soldering iron on a flower pot?
It should not be the default household method. Heated plastic fumes vary with the formulation and can irritate the eyes and respiratory system. A mechanical awl, proper punch, or draining inner pot avoids that exposure. Follow the tool and material supplier’s instructions for any controlled professional process.
How large should plastic-pot drainage holes be?
There is no universal diameter. Start with several modest round openings, test the actual water flow, and enlarge gradually if needed. Pot size, medium, base shape, watering rate, roots, and blockage determine performance more reliably than a single internet measurement.
Will an awl crack a plastic pot?
It can if the pot is brittle, cold, sun-aged, reinforced, unsupported, or forced too quickly. Bring the empty pot to room temperature, support the exact area with wood, start small, and stop if whitening or cracks spread.
Can scissors make drainage holes?
They can cut thin plastic, but they are a poor first puncture tool because the point can skid and sharp-cornered cuts can tear. Use an awl or punch for the initial round opening and reserve a suitable blade for controlled finishing.
Should I make holes while the plant is still inside?
No. Remove the plant and medium whenever possible. A filled pot hides roots, liners, reservoir parts, and the tool path, and it prevents close support under the base. Repotting into a draining container is the safer durable solution.
What if I do not want to damage a decorative pot?
Use it as a cachepot. Put the plant in a smaller nursery pot with drainage, remove the inner pot for watering, let it drain, empty the outer pot, and return it on a spacer above any remaining water.
Custom planter development
Design drainage before customers reach for a tool
Share the plant use, size, base drawing, resin, irrigation, wet load, drainage or knockout requirements, decoration, stacking, market, and quantity. Honokage can review an existing flower-pot direction or discuss a custom molded design and project-specific validation.
Sources and safety basis
- University of Maryland Extension: Types of Containers for Growing Vegetables — drainage, double potting, pot feet, and gravel limitations.
- Iowa State University Extension: How to Select Quality Plant Containers — drainage holes and double-pot systems.
- University of Illinois Extension: Container Drainage Options — why gravel does not replace an open outlet.
- Virginia Tech Extension: Container and Raised-Bed Gardening — effective outlets, mesh, spacers, and inner pots.
- Oklahoma State University Extension: Containers and Media for the Nursery — professional context for clear bottom-corner drainage.
- UK Health and Safety Executive: Plastics — variability and respiratory irritation from heated-plastic fumes.
- OSHA training material: knife and blade safety — keeping hands clear and cutting away from the body.
This guide provides general household and product-design information. It is not a hot-work procedure, tool instruction manual, workplace risk assessment, ventilation design, or manufacturer approval for modifying a particular pot. Inspect the actual product, follow supplier instructions, and stop when material behavior is uncertain.