


The short answer
How should homemade ice cream be stored?
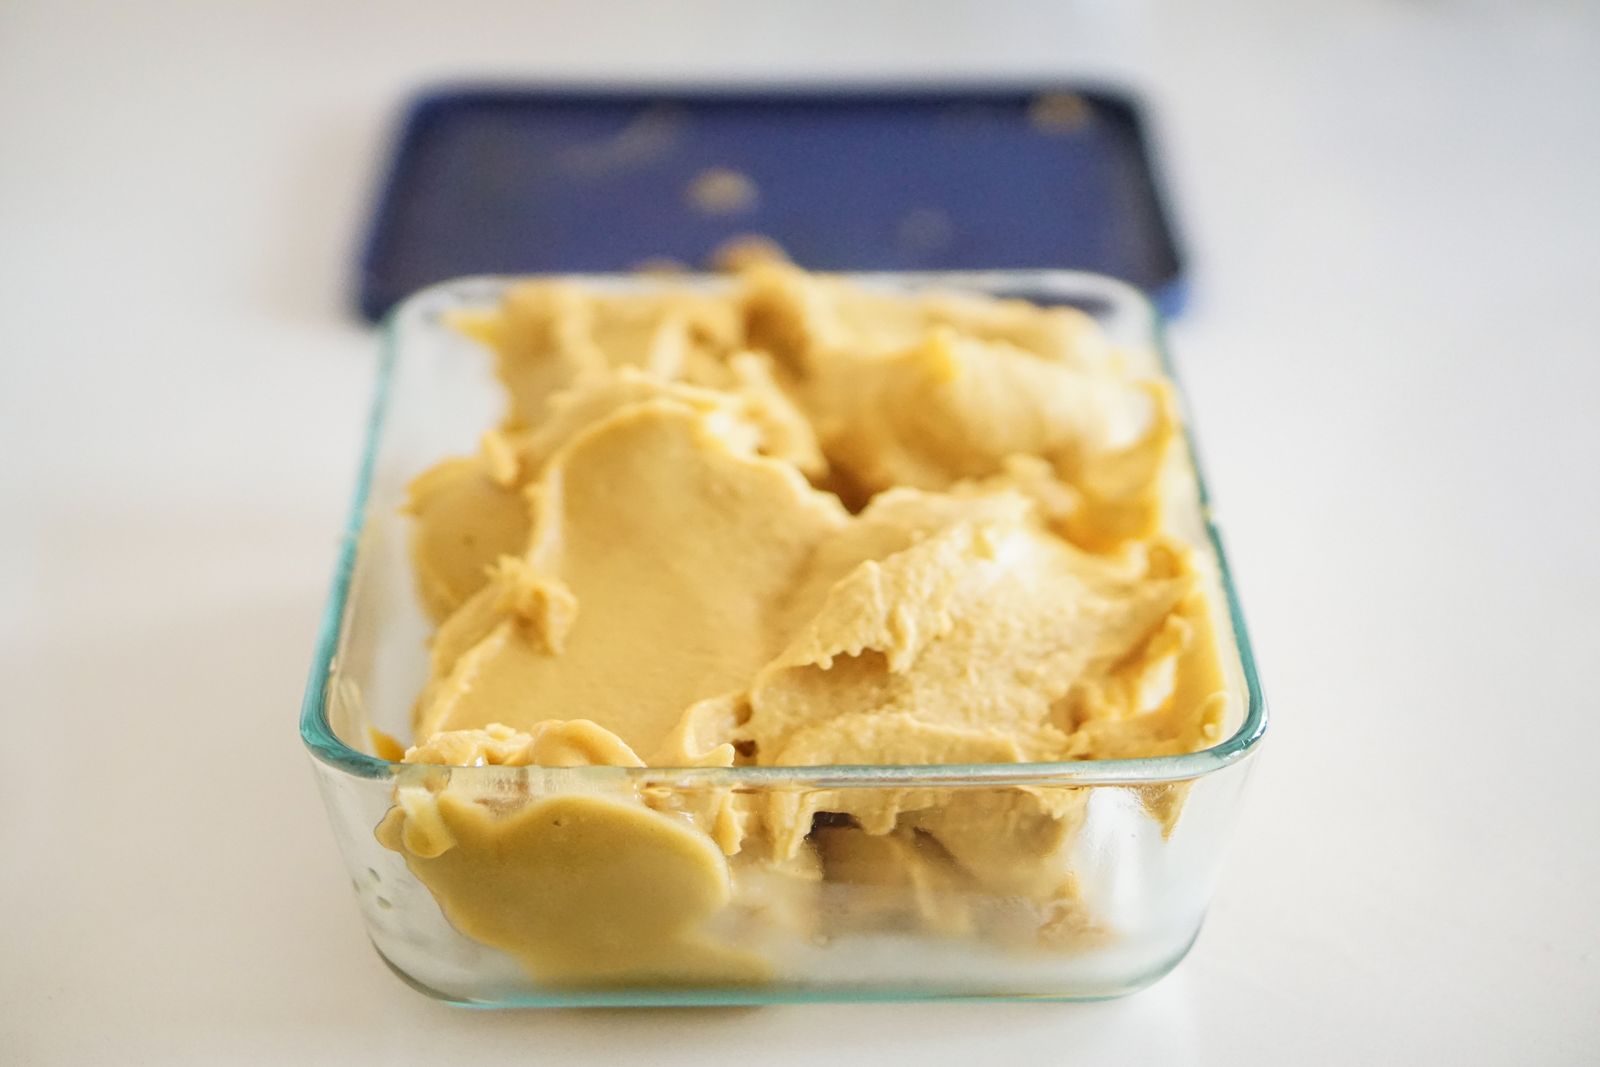
Prepare the containers and freezer before the batch finishes churning. Transfer the soft ice cream at once. Use several small, shallow packages instead of one oversized tub when that matches how you will serve it. Wipe the rim, close the lid fully and leave room around new packages while they harden.
Once firm, keep the packages in a stable interior freezer area selected according to the appliance manual. A freezer thermometer matters more than the number on a dial. The target is 0°F (−18°C) or below, with as little temperature cycling as practical.
Keep quality and safety separate: ice crystals, freezer burn and a firm texture mainly describe quality. They do not prove that raw eggs, unpasteurized dairy, contaminated equipment or an unknown thawing event were safe.
A repeatable post-churn routine
Store a fresh batch in seven simple steps
Storage begins when churning ends, not after the container has sat on the counter. The aim is to protect the fine ice-crystal structure that the machine created.
Do not chase a universal hardening time. Recipe, batch depth, package size, freezer load and appliance performance all change the rate. Use a cold, uncrowded setup and judge when the ice cream is firm enough for storage.
Small mistakes create large texture changes
Five storage shortcuts to avoid
Do not put a warm batch into one deep, crowded package. The center will harden more slowly, while the large serving surface will warm each time the lid is opened.
Do not fill to the rim without checking the container instructions. Less air exposure helps quality, but the lid still needs to close and the food may need practical expansion room.
Do not assume the back is always the coldest safe location. Freezer design varies. Use the appliance manual and a thermometer to find a stable interior zone.
Do not treat a decorative overcap as the primary seal. Quality protection depends on the closure that contacts the package rim and stays seated when cold.
Do not keep resetting the date after softening or repacking. A new label does not erase the earlier time-temperature history. Record the original batch date and note any event that could change the quality or safety decision.

Different package sizes support different serving patterns. A supplier image shows format options, but each final container-and-lid system still needs project-specific freezer validation. Image: Honokage.
The mechanisms are different
Why does homemade ice cream become icy or stale?
Smooth ice cream contains many small ice crystals. During storage, some water can move from small crystals to larger ones. This growth is called recrystallization. A warmer average temperature and repeated warm-cold cycles speed it up. The result can feel icy, crunchy, sandy or grainy.
Freezer burn is different. It is surface drying caused by moisture loss from poorly protected frozen food. It may create a pale, frosty, dull or dry top layer and off flavors. Freezer burn is mainly a quality defect; it is not proof that microbes are present or absent.
Storage cannot repair formulation. If a fresh batch is grainy before storage, review the recipe, churning and initial hardening. A colder freezer cannot rebuild a damaged structure.
Diagnose before changing everything
A quick storage troubleshooting guide
Use the visible symptom to choose the next check. Do not use appearance or taste alone to clear a batch for safety.
Body, lid and handling work together
Qual è il contenitore migliore per il gelato fatto in casa?
A small, rigid, freezer-rated container with a close-fitting lid is the simplest default. Look beyond the resin name. The exact container should resist moisture transfer, remain durable at low temperature, protect against odors and close easily after repeated use.
A shallow form usually hardens faster and offers easier scoop access than one deep package of the same volume. Several small containers also let you remove only the amount needed. That reduces the number of warm-cold cycles seen by the rest of the batch.
For a partly used tub, a freezer-quality, food-contact-safe surface barrier can reduce exposed air before the primary lid is replaced. Follow the material maker’s directions. Ordinary parchment, wax paper or decorative film should not be assumed to provide the same moisture barrier or direct-food-contact use.
Use glass only when the exact wide-mouth article is rated for freezing and you can handle breakage risk. The National Center for Home Food Preservation warns that ordinary glass may break at freezer temperatures. It also notes that ordinary paperboard ice-cream cartons are weak for long freezer storage unless they are properly lined or overwrapped.

Several smaller packages can protect the untouched portions from repeat warming. Image: Nick Mayer / Pexels.
A quality timeline, not an expiry timer
How long does homemade ice cream stay fresh?
There is no universal date. Published home-freezing references differ because recipes, packages and definitions of acceptable quality differ. Utah State University lists 30 days for ice cream in an air- and moisture-proof container at 0°F. A University of Georgia prepared-food guide lists 1–2 months for plain ice cream at 0°F. Other home guidance warns that homemade ice cream becomes grainy during storage.
For a texture-first home routine, plan to enjoy many batches within about 1–2 weeks. This is a conservative, practical target drawn from the product’s tendency to lose smoothness. It is not a microbiological guarantee and does not make an unsafe recipe safe for that long.
Serving is part of storage control
Protect the batch each time you scoop
Choose the smallest package that fits the occasion. Scoop the amount needed with a clean utensil, smooth or re-cover the exposed surface, clean the rim if needed and close the lid. Return the package before it becomes soft around the edges.
Do not leave the family tub open while toppings are prepared. Do not soften and refreeze the whole batch just to make scooping easier. If the product is very hard, move only the serving amount or allow a short controlled tempering period, then avoid returning a substantially softened tub.
Keep the freezer door closed as much as practical. The door bin is usually exposed to more warm air, but the coldest usable location varies by appliance. Follow the manual and confirm the chosen interior zone with a thermometer.
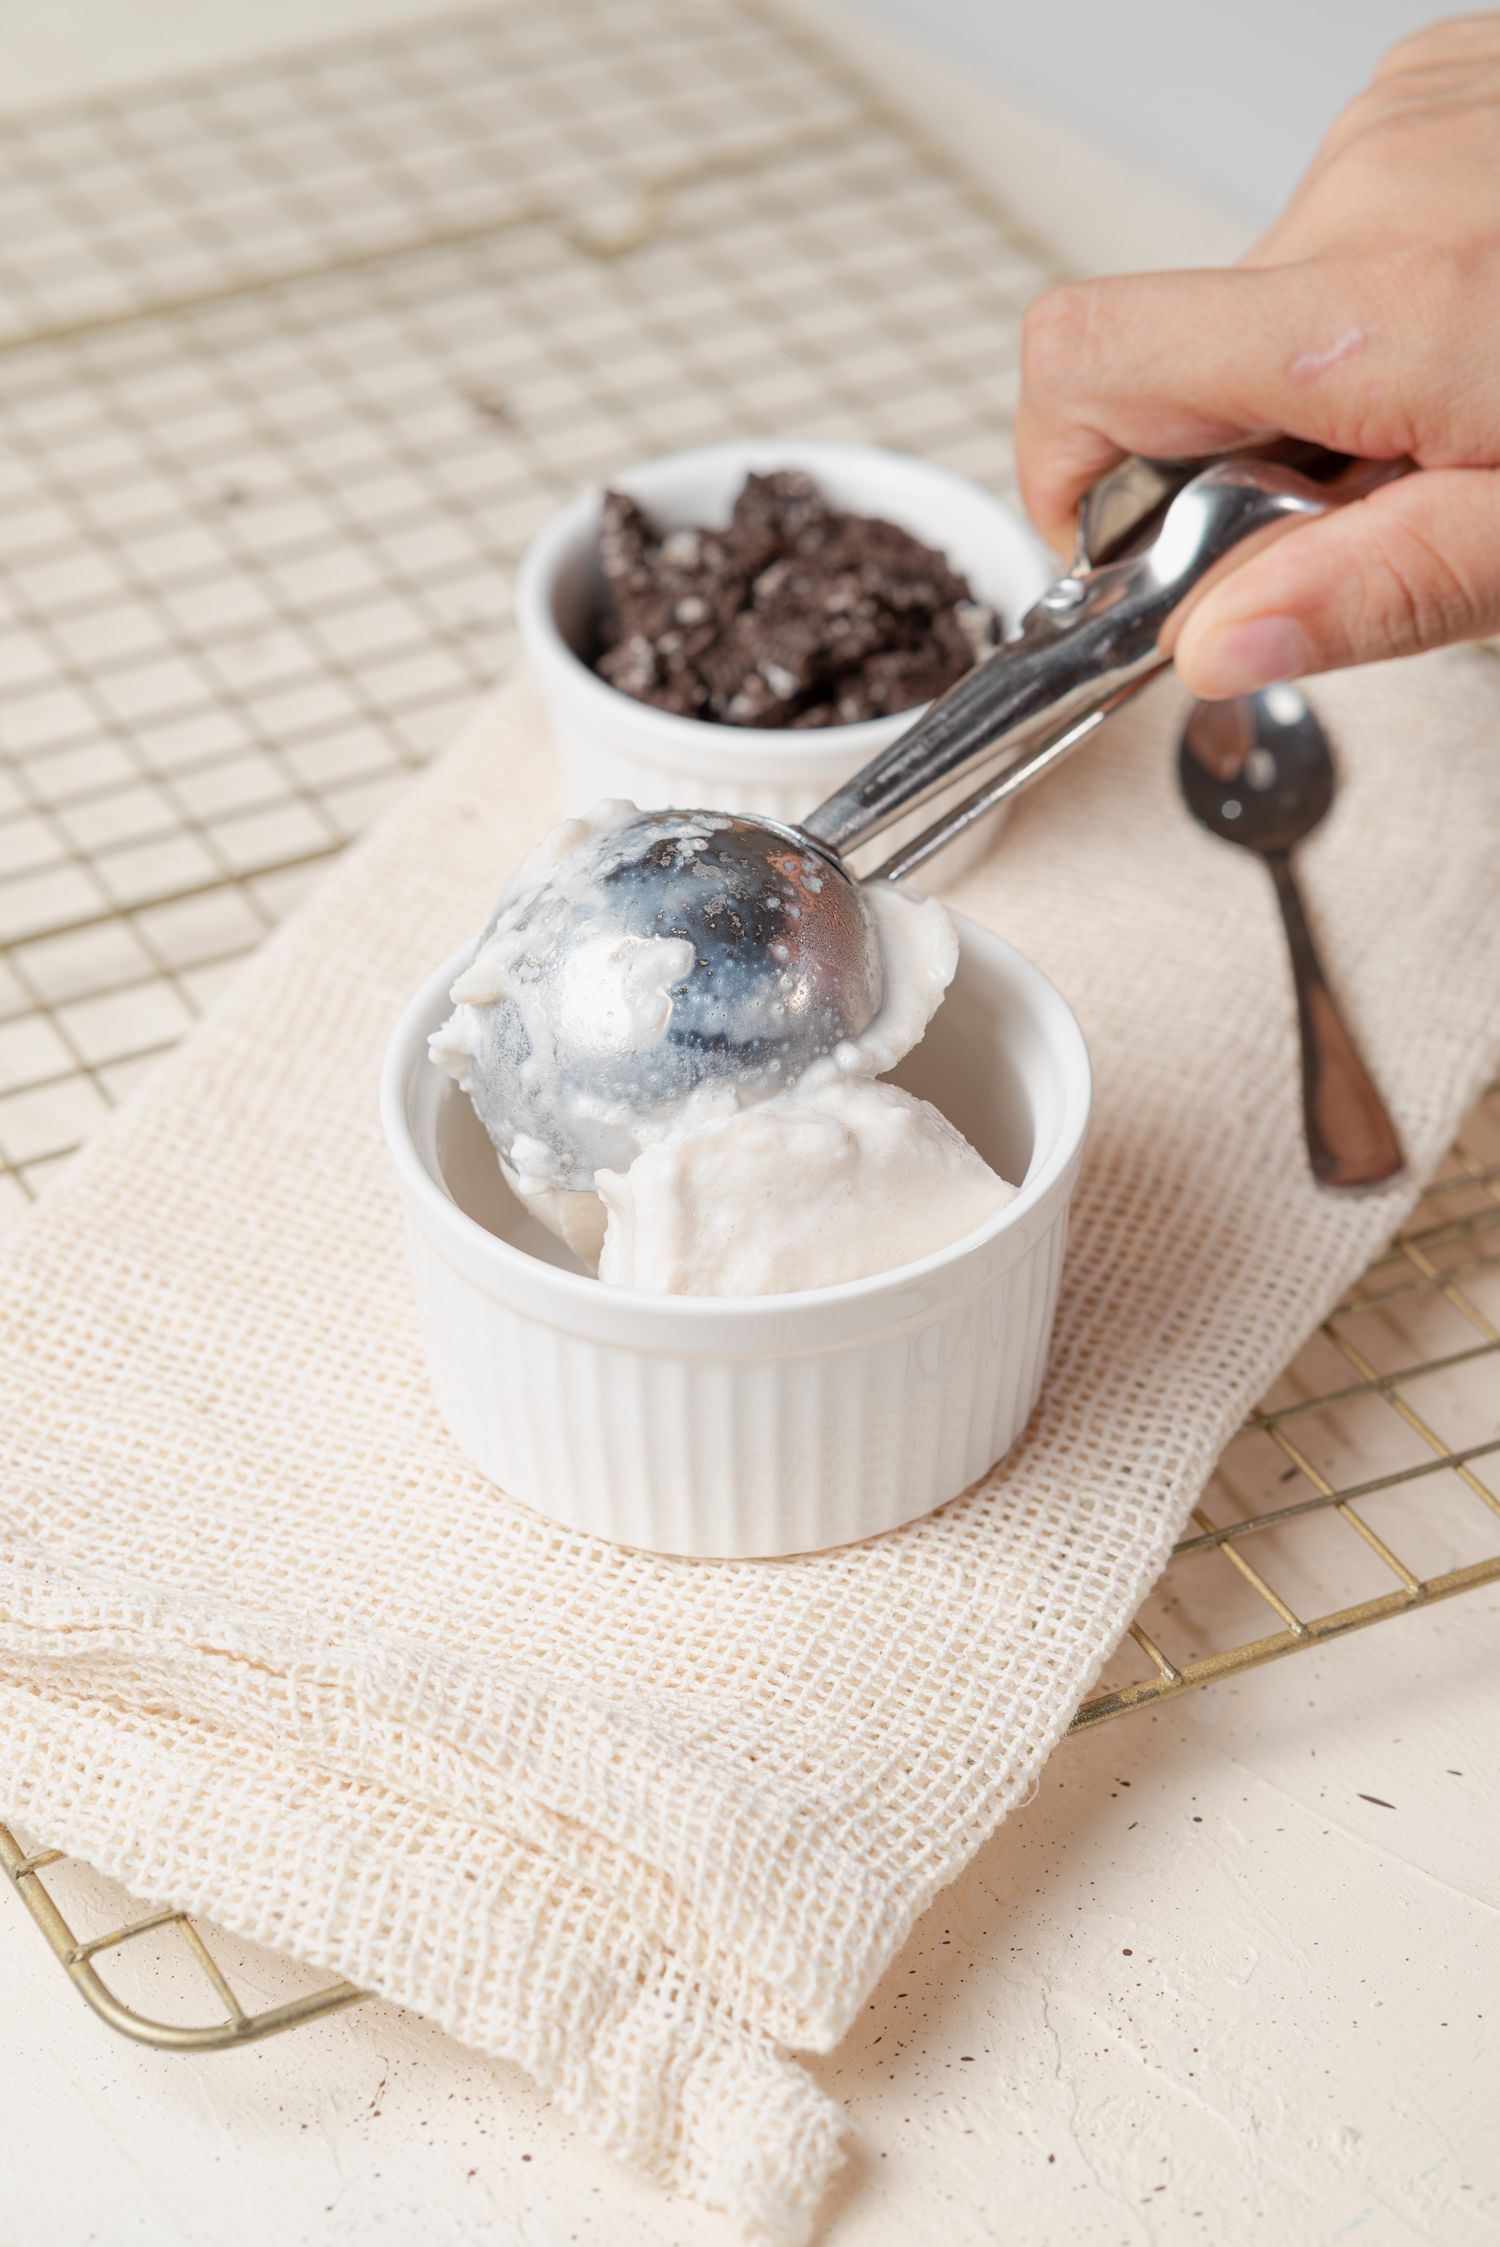
Efficient serving reduces the time the stored package spends warming. Image: Diego Romero / Pexels.
Freezing is not pasteurization
Food safety starts before the freezer
FDA identifies raw or undercooked eggs as a known hazard in homemade ice cream. If a recipe would leave eggs raw or undercooked, use pasteurized shell eggs or pasteurized egg products, make a cooked base or choose an egg-free recipe. Use pasteurized milk and cream, especially for people at higher risk of foodborne illness.
Freezing does not make raw eggs safe. It slows microbial growth but does not reliably destroy bacteria already present. Clean equipment, safe ingredients, a tested method and controlled handling must come first.
Freezer burn is not a safety test. Large ice crystals are not a safety test. Smell and scoopability are not safety tests. Never taste a questionable batch to decide whether it is safe.
When to discard: choose disposal when the ice cream is soft or melted after an outage, the time-temperature history is unknown, unsafe raw ingredients were used, the package is damaged or leaking, or there is mold or known contamination. USDA advises disposing of soft or melted ice cream for quality, and University of Minnesota Extension says not to refreeze ice cream and similar frozen desserts.
For frozen-dessert founders and packaging teams
Home advice cannot set a commercial shelf life
A small brand can apply the same physical principles: fast hardening, stable cold storage, low air exposure and a dependable closure. But a home-storage timeline cannot release retail inventory or support a commercial best-quality date.
A commercial program must validate the whole system. That includes the recipe, fill process, container, lid or seal, headspace, hardening load, warehouse, transport, retail cabinet and expected consumer handling. Product temperature matters more than an empty-freezer air reading.
Honokage’s website presents a range of ice cream container formats and a 500 ml IML container example. Treat the page details as supplier information. Confirm your formula, fill, closure, storage and distribution conditions through samples and project-specific tests before bulk approval.

Commercial packs must be qualified as a body-and-closure system under the actual cold chain. Image: Honokage.
Turn the storage target into a package test
Qualify the container before commercial launch
Send the formula type, fill weight, package shape, lid or seal, fill temperature, hardening method, storage and delivery range, target market, expected shelf life and forecast. These inputs help define useful samples and tests.
Supplier capabilities and test statements should be confirmed for the exact project, market and production lot.
Common questions
Homemade ice cream storage FAQ
Should homemade ice cream be stored in the freezer door?
Usually not. Door bins face frequent warm-air exchange. Use a stable interior area that your appliance manual identifies as suitable, and verify it with a freezer thermometer.
Why is homemade ice cream so hard after freezing?
Recipe balance, serving temperature, low overrun and the absence or level of stabilizers can all affect hardness. Storage fixes temperature swings and drying; it cannot correct every recipe issue.
Does an airtight lid stop all ice crystals?
No. A tight lid reduces surface drying and air exposure. Ice crystals can still grow because of slow hardening, warmer storage, temperature cycling or the recipe itself.
Can freezer burn be scraped off?
A small dry surface area may be removed as a quality choice if the batch has a known safe history. Scraping does not repair flavor or texture, and freezer burn should never be used to judge a separate safety concern.
Can melted homemade ice cream be refrozen?
Do not rely on refreezing as a repair. The fine-crystal structure will not return, and an unknown time-temperature history can add a safety concern. Current home guidance advises discarding soft or melted ice cream.
Is glass better than plastic for homemade ice cream?
Not automatically. Use only wide-mouth glass designed for freezing, and control breakage. A freezer-rated rigid plastic container with a good lid may be easier for regular scooping. The exact product and use matter more than a material slogan.
Do vegan ice cream and sorbet need the same storage routine?
Yes for the basics: prompt hardening, suitable packaging, 0°F or below, low air exposure and limited cycling. Their peak texture can differ because water, sugar, solids, fat and stabilizer systems differ.
Is this a commercial shelf-life specification?
No. It is home-storage guidance. Commercial shelf life needs a product-specific protocol covering formula, process, packaging, cold chain, safety plan, sensory limits and market rules.
Bottom line
Protect the texture you made during churning
Pack homemade ice cream promptly, keep packages small enough to harden well, close them cleanly and store them steadily at 0°F (−18°C) or below. Limit air exposure and long serving periods. Plan around 1–2 weeks for peak home quality, while recognizing that published quality references vary. Most important, start with safe ingredients and a safe recipe: the freezer preserves a good process; it does not replace one.
Technical references
These sources support the storage temperature, packaging, quality and raw-egg boundaries used above. Storage times are quality guides unless the source clearly states otherwise.
- USDA FSIS: Freezing and Food Safety
- FDA: Enjoying Homemade Ice Cream without the Risk of Salmonella Infection
- FDA: What You Need to Know About Egg Safety
- University of Minnesota Extension: Preserving Food at Home—Freezing
- National Center for Home Food Preservation: Containers for Freezing
- Utah State University Extension: Food Storage in the Home
- University of Georgia Cooperative Extension: Freezing Prepared Foods
Educational information only. It is not medical advice, a tested recipe, a food-safety plan or a commercial shelf-life validation.