


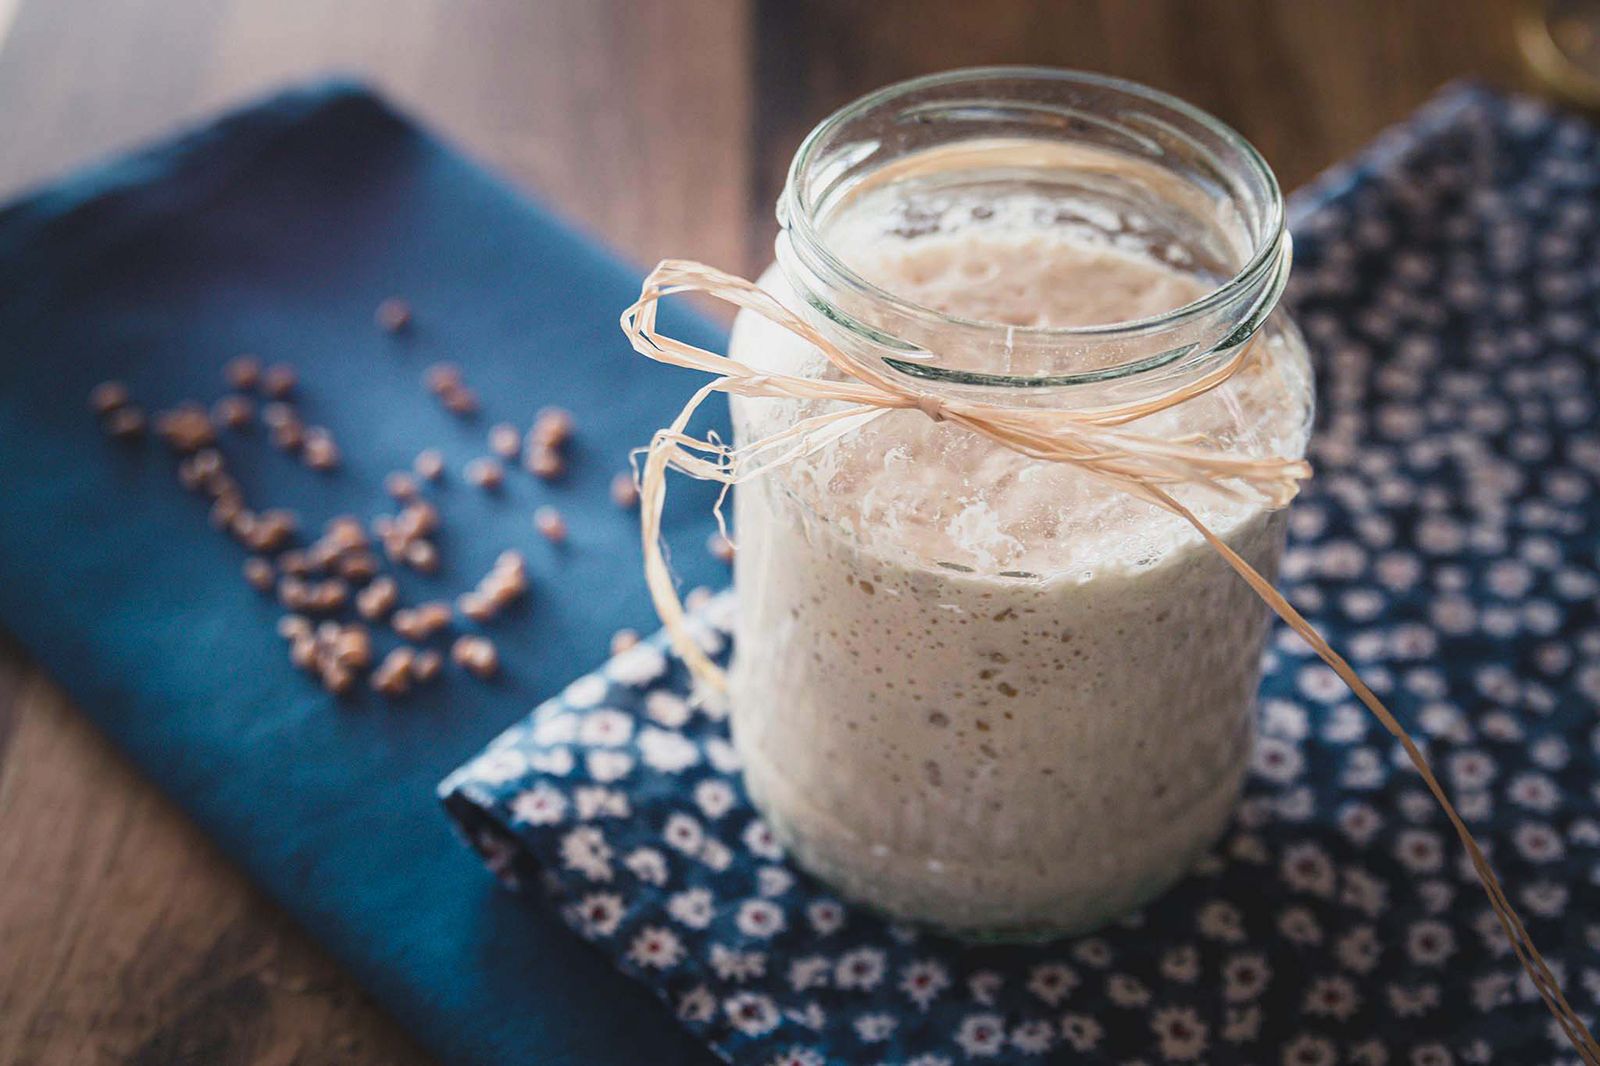
Individual glass jars are a practical starting point for set yogurt because they reduce handling after incubation. Image: Bátor Viktória / Pexels.
Quick answer
For most home cooks, the best container is a clean, food-contact-safe glass jar with a lid.
Use several small jars when you want yogurt to set in the serving container. An 8-ounce or 1-cup jar is an easy starting size. Use one larger glass or stainless steel vessel when you plan to stir, strain or portion the yogurt after it sets.
The jar does not make yogurt safe or thick by itself. Good milk, an active starter, clean tools, controlled heating and incubation, and prompt refrigeration still matter most.
Make one decision first
Will the yogurt set in its serving jar or in one large batch?
This choice matters more than whether a jar looks attractive. In set yogurt, the inoculated milk goes into the final jars before incubation. The yogurt forms its gel in each jar and stays there for cooling and serving. Small jars work well because they need little handling after the set forms.
In stirred yogurt, the milk incubates in one larger vessel. After it sets, you chill, stir, flavor or portion it. A wide glass bowl, a large jar or a food-contact-safe stainless steel insert may be easier than filling many small jars before incubation.
Strained Greek-style yogurt also starts more easily in a larger vessel because the finished yogurt must be moved into a strainer. Drinkable yogurt may be cultured in a large batch, mixed to the intended texture and then poured into bottles. The best container is therefore the one that supports the recipe with the fewest unnecessary transfers.
Simple rule: choose small jars for set-and-serve yogurt. Choose one larger vessel when your process includes stirring, straining, blending or later portioning.

The right size depends on whether the yogurt will set, cool and be served in the same container. Image: Honokage.
Which homemade yogurt container fits your method?
Why glass is the default
Are glass jars really best for making homemade yogurt?
Glass is a strong practical choice because it is easy to inspect, does not keep food odors, and is usually easy to clean. Straight-sided jars are simple to fill and scrape. Clear walls also let you see the set, whey separation and any obvious residue before reuse.
Small jars can go from incubation to refrigeration to the table. That reduces stirring and transfers, which helps a delicate set stay intact. It also gives you planned portions, so the main batch is not opened each time someone wants yogurt.
Glass still has limits. A chipped rim can stop a lid from fitting and can be difficult to clean. A cracked jar can break during heating or cooling. Sudden temperature change can cause thermal shock, so use jars meant for the temperatures in your recipe and follow the jar maker’s directions. Do not move an unsuitable cold jar straight into very hot water.
Important distinction: glass does not make the culture more active, add probiotics or fix a weak recipe. Its advantage is easier handling, cleaning and portion control.
What jar size is best for homemade yogurt?
Start with 8-ounce or 1-cup jars if you want normal single servings. This is a useful starting point, not a safety rule. Smaller portions often warm and cool more evenly than one very large mass, and they are ready to serve without opening a family batch.
Pint jars can work when your tested method calls for them. Utah State University Extension, for example, publishes a home method that uses pint jars. The University of Illinois Extension describes either eight 1-cup containers or one container that holds about 1.5 quarts. These are recipe examples, not universal requirements.
Choose the number of jars after checking the useful capacity of your yogurt maker, oven setup, water bath or appliance. Leave the headspace required by your method. Do not fill to the rim if the lid, movement or later mixing needs room.
Can you use plastic, stainless steel or a thermos?
Do not choose by resin code alone. Food-contact suitability depends on the finished article and its intended food, time and temperature conditions. Check the container or appliance instructions.
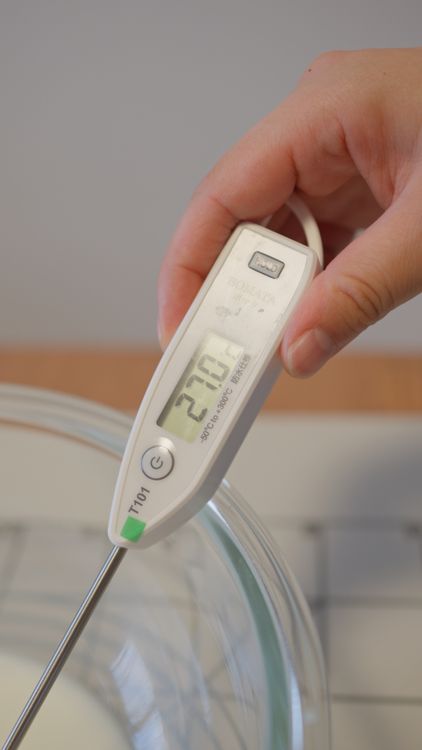
A suitable container supports the method, but measuring and controlling temperature still drive the process. Image: Gu Ko / Pexels.
A six-step selection test
How do you choose a container that fits your recipe?
1
2
3
4
5
6
How should you clean, cover, incubate and chill the jars?
Wash your hands and start with clean containers, lids, utensils, thermometer and work surfaces. Use the cleaning or sanitizing steps in your chosen recipe. A clean-looking jar is not always a clean jar, especially around threads, gaskets and lid edges.
Fill without touching the inside of the jar or lid. Wipe spills from the outside. During incubation, protect the yogurt from dust and handling with the cover specified by the recipe or yogurt maker. A lid during incubation is a clean cover; it is not a canning process and does not make the yogurt shelf stable.
Keep the containers still while the gel forms. Colorado State and Oregon State extension methods both warn against unnecessary disturbance during incubation. Moving or stirring a set-yogurt jar can weaken the gel even if fermentation is otherwise on track.
Use the temperature and time in the tested method. Published extension recipes give different ranges because their full processes differ. For example, one method may inoculate near 110°F, while another may incubate within a broader 100–115°F range. Do not treat one temperature number as a substitute for the rest of the recipe.
When incubation is complete: cover the yogurt as directed and refrigerate it promptly. Keep the refrigerator at 40°F (4°C) or below, measured with an appliance thermometer.
What container mistakes cause the most trouble?
What should you do after the yogurt reaches the refrigerator?
Keep each container covered and cold. Place it where the refrigerator can maintain a stable temperature, rather than in a warm door location if your appliance runs unevenly. Leave room for cold air to move, and clean spills promptly.
Use a clean spoon every time. For a large batch, portion yogurt into a bowl instead of eating from the main vessel. Do not return served yogurt, fruit or a used spoon to the storage container.
Some extension recipes describe one- or two-week quality windows for their specific process. That is not a universal promise for every milk, starter, refrigerator and home method. Follow the storage guidance that comes with your tested recipe, and discard yogurt when the process or cold history is uncertain.
Freezing may change texture because ice crystals disturb the yogurt gel. Freeze only in a container whose manufacturer allows freezer use, leave expansion space and thaw under refrigeration. A jar that is suitable for incubation is not automatically suitable for freezing.
Discard rather than taste-test when you see mold, the container is leaking or damaged, the yogurt stayed warm too long, or its preparation and storage history cannot be established.

A retail yogurt cup is a complete packaging system, not simply a reusable home jar in another material. Image: Honokage.
For brands and dairy teams
Why is a commercial yogurt cup a different decision?
A home cook can choose a washable jar that fits one recipe. A food brand must approve the yogurt, filling process, cup, decoration, lidding film, sealant, optional reclose lid, cold chain and consumer use as one system. A cup material by itself does not create shelf life.
Set-style commercial yogurt may be filled and cultured in the retail cup, while stirred yogurt may be fermented in a tank and filled later. These routes expose the package to different temperatures, line conditions and seal risks. Fruit preparations, fat content, acidity, particles and rim contamination can also change package performance.
FDA’s yogurt standard of identity includes a finished-product acidity requirement of pH 4.6 or lower for standardized yogurt. That commercial rule does not turn a home pH reading into proof of safe shelf life. A brand still needs an appropriate food-safety plan, process control, finished-package evidence and a shelf-life study for its real product.
For package approval, test filled units on the intended line and through the expected cold distribution route. Define seal strength, leak acceptance, peel behavior, lid fit, stacking, drop and opening targets before the trial. Then connect the results to the actual shelf-life program.
Honokages yogurt container range provides examples of cup and tub formats. Its testing overview describes supplier-side checks. Treat those pages as a starting point, then confirm the selected materials, intended use, closure, market documents and project acceptance criteria.
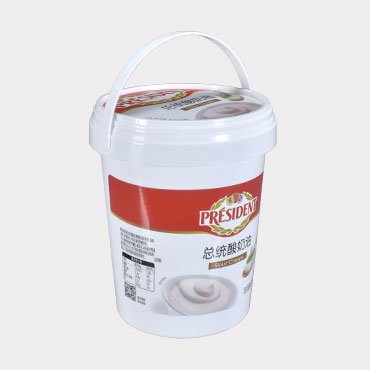
Large-format tubs add handling, stacking and reclosure requirements that small portion cups may not share. Image: Honokage.
Packaging inquiry checklist
What should a yogurt container RFQ include?
Frequently asked questions
Homemade yogurt container FAQ
What is the best container for making homemade yogurt?
For most people, use clean food-contact-safe glass jars with lids. Choose several small jars for set yogurt or one larger glass or stainless vessel for stirred and strained batches.
Do I need special yogurt jars?
Not always. The jars must fit the equipment and be intended for the food and temperature used. Purpose-made yogurt-maker jars are convenient because their fit and lids are already matched to the unit.
Can I make yogurt in plastic containers?
Yes, when the finished container is identified for food contact and for the exact temperature conditions. Do not assume an unknown reused tub is suitable for warm incubation.
What size jar should I use?
An 8-ounce or 1-cup jar is a practical starting point for individual portions. Pint jars or a larger 1.5-quart vessel also appear in extension recipes. Follow the sizes and fill level in your chosen method.
Should the lid be on during incubation?
Use the clean cover or lid arrangement specified by the recipe or yogurt maker. The cover protects the contents from ordinary exposure; it does not can the yogurt or remove the need for refrigeration.
Can I make yogurt in a thermos?
A thermos may work as the incubation vessel in a tested method. Because it is designed to hold heat, it is often better to transfer the finished yogurt into covered containers for prompt chilling.
Can the same glass jar go into the freezer?
Only if the jar maker allows freezer use. Leave suitable expansion space and avoid sudden temperature changes. Freezing can still change yogurt texture.
Does yogurt made in glass have more probiotics?
No evidence in these sources shows that glass alone increases probiotics. Culture activity depends on the milk, starter and controlled process. Glass is mainly a practical choice for cleaning, viewing and portioning.
For commercial yogurt packaging
Define the yogurt and filling process before choosing the cup
Share the yogurt style, formula, fill condition, capacity, lidding system, reclose need, cold chain, destination market, annual volume and validation plan. Honokage can discuss existing formats or a custom packaging project; final claims should be confirmed for the selected package and use.
Final recommendation
Use the simplest container that supports the full process
Choose small glass jars for ordinary set yogurt because they are easy to inspect, cover, chill and serve. Choose a larger food-contact-safe glass or stainless vessel when the yogurt will be stirred, strained or divided later.
Confirm the container’s food and temperature use, inspect it for damage, keep the yogurt undisturbed during incubation and refrigerate it promptly at 40°F (4°C) or below.
Most of all, follow one tested recipe. The best jar makes a sound process easier; it cannot replace milk treatment, an active starter, temperature control, hygiene or a reliable cold chain.
Sources and further reading
- Colorado State University Extension: Making Yogurt — container choices, set and stirred styles, cleaning, inoculation and undisturbed incubation.
- University of Illinois Extension: Making Yogurt at Home — glass, food-safe plastic or metal containers and example batch sizes.
- Utah State University Extension: Yogurt — a tested pint-jar method with incubation and prompt refrigeration steps.
- Oregon State University Extension: Yogurt Made Simple — clean containers, incubation range, limited movement and immediate refrigeration.
- FDA: Refrigerator Thermometers—Cold Facts about Food Safety — refrigerator temperature, covered storage and cold-air circulation.
- FDA: Food Packaging and Food-Contact Substances — intended-use context for finished food-contact articles.
- FDA: Amended Standard of Identity for Yogurt — current commercial yogurt identity and acidity framework.
Scope: this article covers ordinary home yogurt methods and refrigerated commercial yogurt packaging. Always follow the instructions for your starter, appliance and container. People at higher risk from foodborne illness should use extra care and seek advice from a qualified health professional when needed.